Overview
TopTeam Web Server supports Integrated Windows Authentication (IWA), aka Single Sign-on (SSO) along with TopTeam Native Authentication. Once you log into your computer using your Windows User Account, you will not need to log into TopTeam Web separately. TopTeam Web uses your existing Windows credentials to log you in. You will need to configure Internet Information Services (IIS) and TopTeam Web Server Management Console in order to login with Windows Authentication.
This article describes the procedure to enable SSO on TopTeam Web Server.
Who should read this?
- TopTeam Administrators
- IT Support
Prerequisites
- Ensure that TopTeam Web is configured on your computer and is in the running state. For more information on configuring TopTeam Web, refer to the article TopTeam Web Server Installation Guide.
- Ensure that the Windows Authentication feature of IIS is turned ON, as shown in the following image.
Steps to navigate to the Windows Authentication feature are as follows:
1. On the taskbar, click Start, and then click Control Panel.
2. In Control Panel, click Programs and Features, and then click Turn Windows Features on or off.
3. Expand Internet Information Services, then World Wide Web Services, and then Security.
4. Select Windows Authentication, and then click OK.
Step 1. Run Management Console for TopTeam Web Server
To run TopTeam Web Server Management Console, locate the installation folder on your computer and click WebttmControlPanel.exe. For more information, refer to the article How to locate the TopTeam Web Server installation folder (Version 8.x).
NOTE: The name of the management console file depends on the database that you are using.
If you are using:
1. SQL then click WebttmControlPanel_SQL
2. IB then click WebttmControlPanel_IB
3. Oracle then click WebttmControlPanel_Ora
Step 2. Open IIS, and add an Application Pool for SSO
For more information on opening IIS, refer to the article How to open IIS Manager.
Step 3. Configure the Application Pool
Step 4. Convert the SSO folder within the TopTeam Web Site to Application
Step 5. Provide TopTeam Web_SSO Application Pool to SSO Application
The SSO folder is converted to Application
Step 6. Set the SSO Application authentication type to Windows Authentication and DISABLE other authentication types
Windows Authentication will be enabled. Ensure that other authentication types are disabled.
Step 7. Enable Providers
Click OK when you have enabled providers.
NOTE: If you are using multiple providers, move Negotiate to the top of all the other providers.
Step 8. Add ttmSSOSrv.dll to ISAPI and CGI Restrictions
Specify the path of the dll in ISAPI and CGI Restrictions so as to allow execution of the dll on the server.
This is the installation folder of TopTeam Web Server, select the ttmSSOSrv.dll file within the rest>SSO folder.
You have successfully configured IIS and TopTeam Web Server Management Console for enabling SSO on TopTeam Web.
Once this configuration is done, you should also configure your web browser to enable Integrated Windows Authentication on TopTeam Web. Refer to the article Configuring web browser for using Integrated Windows Authentication on TopTeam Web.
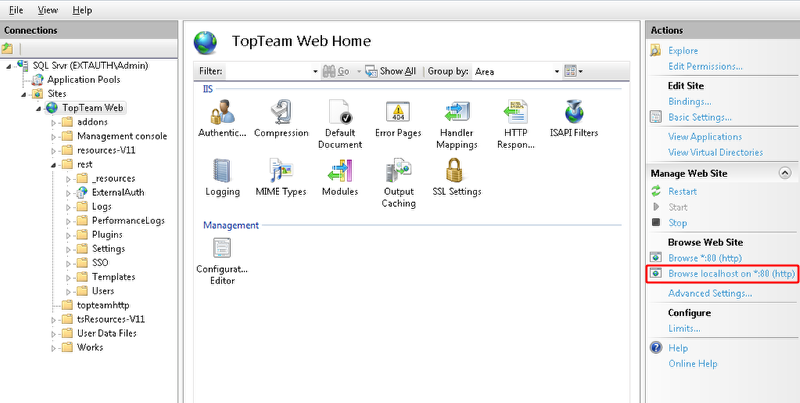
IMPORTANT: TopTeam Web Server needs to be accessible as localhost for proper working of SSO. You can achieve this by adding localhost in addition to hostname in website bindings.
Revised: May 3rd, 2018
