Overview
A Business Process is made up of a set of graphical elements/shapes that can be used to define a Business Process model. It can be used by Business Analysts to diagrammatically represent a process using flow shapes and the interactions between them through the flow of messages/associations etc. TopTeam supports the Business Process Modeling Notation (BPMN) standard.
To access Business Processes, you need to include its record type in your project. Refer to the article Adding/Removing Record Types from TopTeam Projects.
Who should read this?
- TopTeam Users
Process Overview
The steps involved in creating a Business Process are as follows:
- Creating Business Process record
- Adding shapes
- Adding Flows between shapes
- Using Properties List
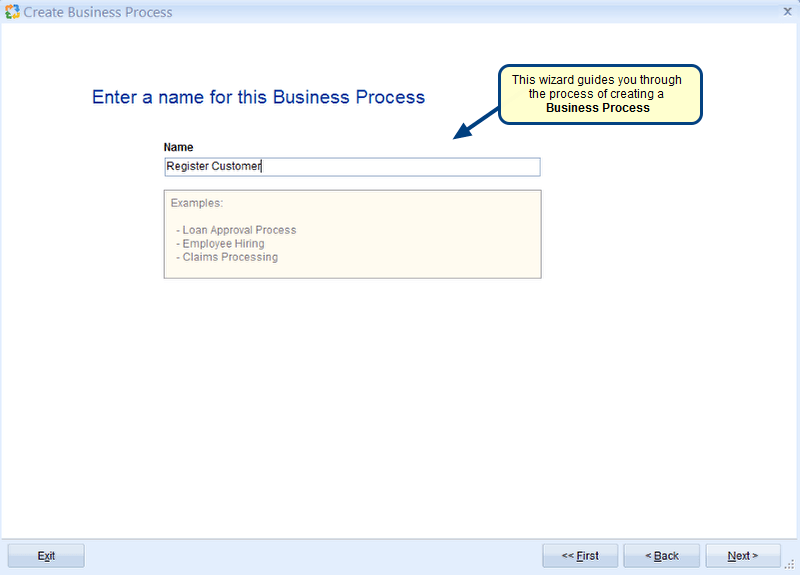
1. Creating Business Process record
You can create Business Processes from the following:
- Repository Explorer
- Step-by-Step Wizard
- Importing from Microsoft Visio
- Importing from XPDL file
In this article, creating a Business Process record from repository explorer is explained. You can directly create a Business Process record from repository explorer if you want to define your process later.

User Interface of Business Process record
You can create/edit diagrams in full screen or docked mode. The following is the user interface of the business process record editor for creating a diagram.
- By default, a pool shape, start and end events are added to the canvas for you to begin creating a business process.
- Shapes Library located to the left-hand side of the canvas offers a broad range of shapes used for designing a wide variety of business processes. The following is a list of different types of shapes:
- BPMN Elements
- BPMN Events
- BPMN Boundary Events
- BPMN Activities
- BPMN Gateways
- BPMN Pools
- BPMN Miscellaneous
- Flowchart Shapes
- General Shapes
- Properties panel located to the right-hand side of the canvas displays properties of the selected shape on the diagram such as:
- Display Text and Description
- Activity
- Style
- Name
- Size and Position
- Toolbar includes the actions you need to perform on shapes such as add sequence flow, insert annotation, arrange shapes, etc.
2. Adding Shapes to Business Process Diagrams
Each shape has a specific meaning and is used to represent a process in a diagrammatical format. Here are the steps to add a shape to the diagram:
- Select a shape in the Shape Library such as Activity, Gateway, Event, etc. and simply drag to the canvas and release the mouse button when the mouse pointer is over the desired positioned on the canvas.
- Type name of the shape and press Enter key.
Refer to the process demonstration below.
3. Adding Flows between shapes
Flows are used to connect two BPMN elements and to define how the execution progresses through a process.
Use Sequence flow to connect the elements in the same Pool and Message flow to connect the elements in different Pools. Here are the steps to add a connector shape to the diagram:
- Click a flow on the toolbar to select it.
- Next, click the first shape and release the mouse button when the mouse pointer is positioned over the destination shape.
Refer to the process demonstration below.
4. Using Properties List
Properties List displays all the properties of shapes such as Pools, Lanes, Sequence Flows, Message Flows, Associations, etc. that are used in a diagram in a spreadsheet-like view.
Using Properties List, you can add a description, linked records, etc. to the shapes. These actions can also be performed in Properties panel located at the right-hand side of a diagram.
Refer to the process demonstration below.
Related Articles
Video – Editing Business Process Shapes
See Also
Configuring Business Process – Validation & Rules
Revised: May 6th, 2020