Overview
An Alternate flow describes a scenario that deviates from the basic Use Case Flow, where the end result completes successfully or fails to complete based on the steps taken in the flow. It can be drawn either before or after a linked step (branching step). By default, it will appear before a linked step.
This article describes the procedure to specify custom settings to draw an Alternate flow before/after a branching step.
Who should read this?
- TopTeam Administrators
Step 1. Open the Administration screen

Step 2. The Administration screen opens. Click Configure System Wide Settings
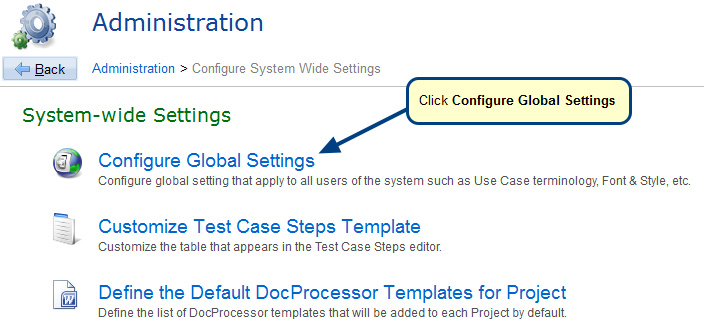
Step 3. Click Configure Global Settings
Step 4. The Global Settings window opens
Choose “Before Linked Step” to draw before the linked step and choose “After Linked Step” to draw after the linked step.
The following image shows an example of a Use Case Flow that has a branching step:
The following image illustrates the difference between the Before Linked Step option and the After Linked Step option:
Related Articles
Revised: April 24th, 2020