|
Identify and add Actors to the Repository |

|

|

|
|
|
Identify and add Actors to the Repository |
|
|
|
Identify and add Actors to the Repository
|
Identify and add Actors to the Repository |
|
|
|
|
|
Identify and add Actors to the Repository |
|
|
|
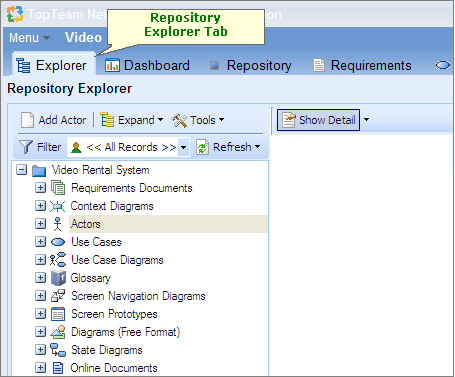
Overview
Use Case Analysis begins by identifying Actors. To find candidate Actors, identify all external entities that will interact with your proposed system. These are the Actors of your system. Actors can be human or they can be other systems that interact with the system that is being developed.
Follow these steps to add Actors to the TopTeam Repository
Open the Repository Explorer.
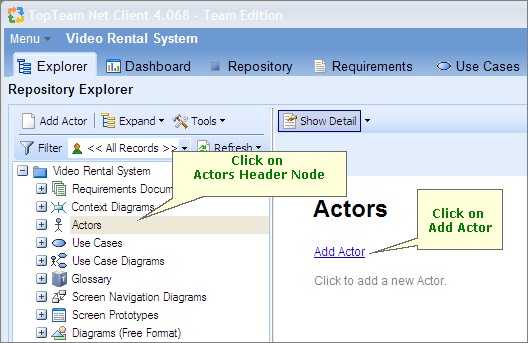
Click on the Actors header node and then Click on Add Actor.
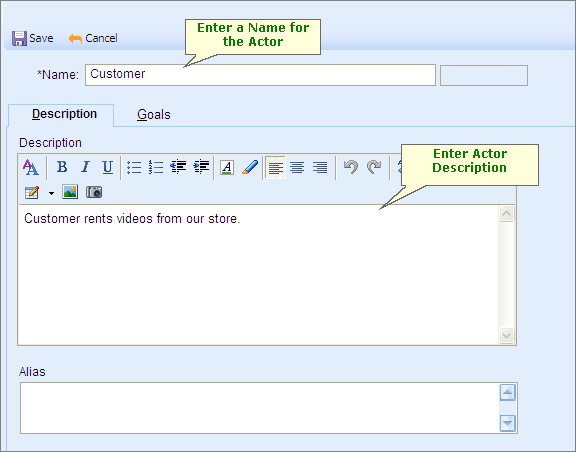
Enter a Name and a Description for the Actor.
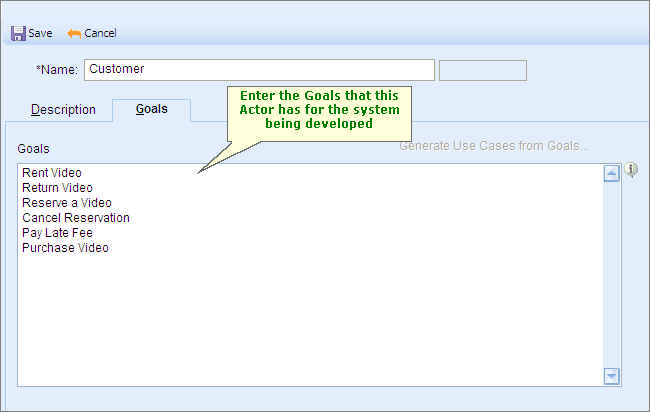
Enter all the Goals that this Actor has with respect to the system under development (SUD).
To identify Goals, ask yourself: What does this Actor want from the system? What would the Actor want the system to do for that Actor?
Enter each Goal on a separate line as shown in the image below.
At any time, you can click on the (i) button next to a field in TopTeam to view the field usage help information.

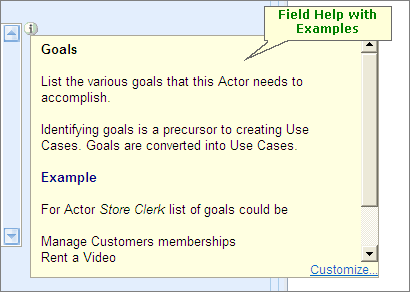
NOTE
|
System Administrators can also modify the Field help (shown on click of the i button) to suit the needs of your organization. |
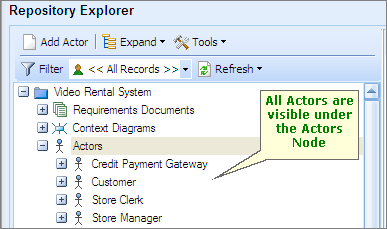
After you have identified and entered all the Actors, they can be viewed under the Actors header node of the Repository Explorer.
Step Complete
You have now successfully identified and added Actors to the Repository.
Proceed to the next step.