|
Create a Project |

|

|

|
|
|
Create a Project |
|
|
|
Create a Project
|
Create a Project |
|
|
|
|
|
Create a Project |
|
|
|
Overview
In TopTeam all artifacts belong to a Project. You will either need to create a new Project or choose an existing Project before we start developing our Requirements model.
If you want to use an existing Project for this tutorial, ensure that you have enabled the Requirements Management, Use Case Authoring and Test Case Authoring options for the Project. If you are using the advanced edition of TopTeam you should also include Screen Mockups Record Type in this Project.
To create a new Project, follow these steps:
You can create a new Project either from the Project & Plans tab or from the Repository Explorer.
We will choose the Create Root Project using Quick Wizard option. This option allows you to quickly create a Project without having to specify detailed configuration information. You can always edit the detailed Project configuration later using the Edit Project option.
To create a new Project from the Repository Explorer, Open the Repository Explorer and begin by selecting any existing Project displayed in the Repository Explorer.
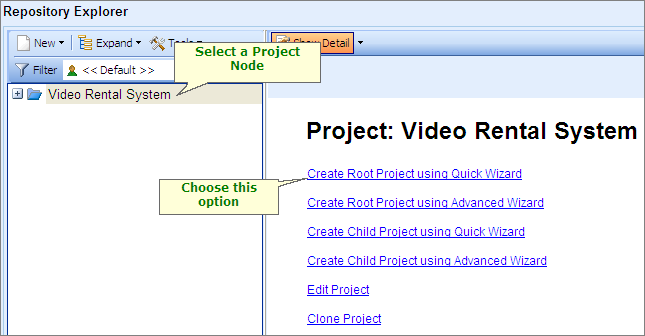
Repository Explorer
Click on the Create Root Project using Quick Wizard option. Follow the steps of the wizard to create the new Project.
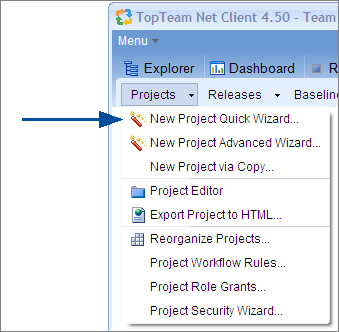
Alternatively, to create a new Project from the Project & Plans tab, click on the Project & Plans tab, and choose Projects > New Project Quick Wizard.
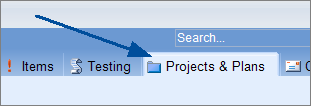
Project and Plans Tab
Choose the New Project Quick Wizard option. Follow the steps of the wizard to create the new Project.
Step Completed
You have now created a new Project or selected an existing Project to develop the Use Case model.
Proceed to the next step.