Overview
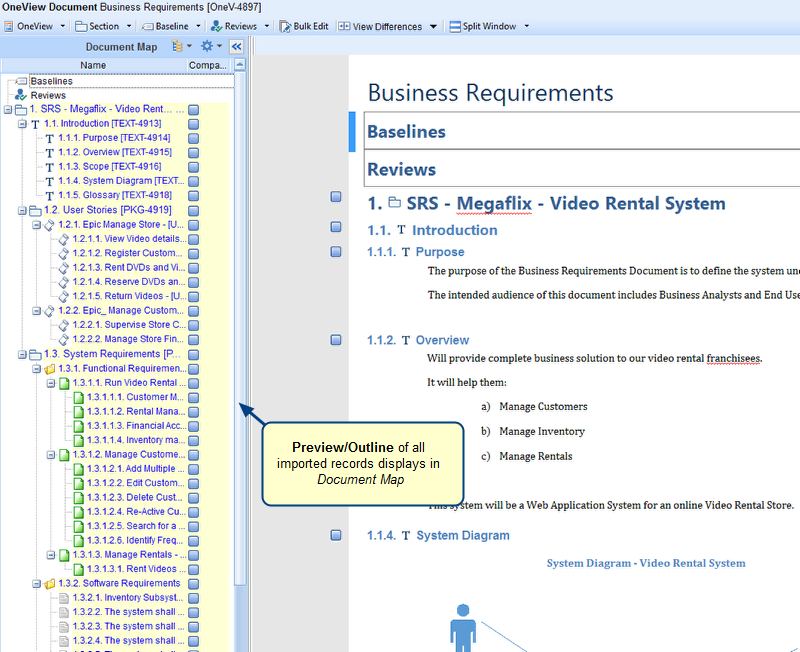
You can display Rich Text fields content in a review document of OneView record type.
This article describes the procedure to display a Rich Text field for OneView record type in a review document.
Who should read this?
- TopTeam Users
- TopTeam Administrators
Prerequisites
You must have privileges to modify templates in TopTeam.
Step 1. Define a Rich Text field for One View record type
Create a new Rich Text field for One View record type using the Record Type Fields editor. For more information on creating a new field, refer to the article Defining Custom Field for a Record Type.
Ensure you select the Rich Text field option from the New Field drop-down menu in the Record Type Fields editor.

The new Rich Text field is created
Step 2. Add the Rich Text field to the One View record type form
For information on adding a field to the Form of a record type, refer to the article How to add a new custom field to the Form Layout Designer.
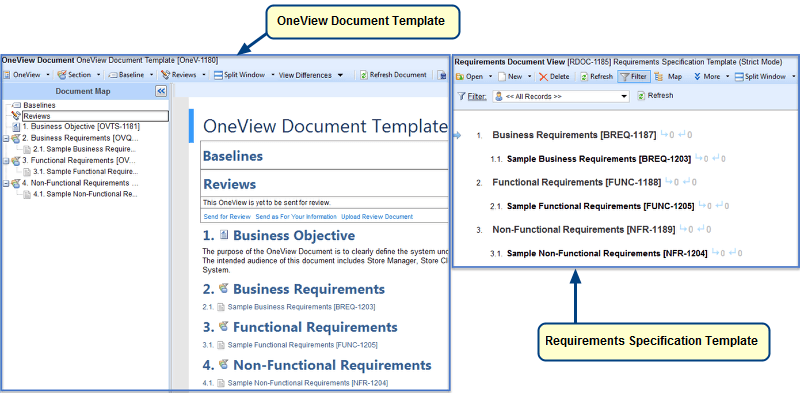
Step 3. Open a OneView document and add data to the Rich Text field
Step 4. Edit a template
For more information on customizing the document template, refer to the article How to add or customize a template for generating OneView Review Documents.
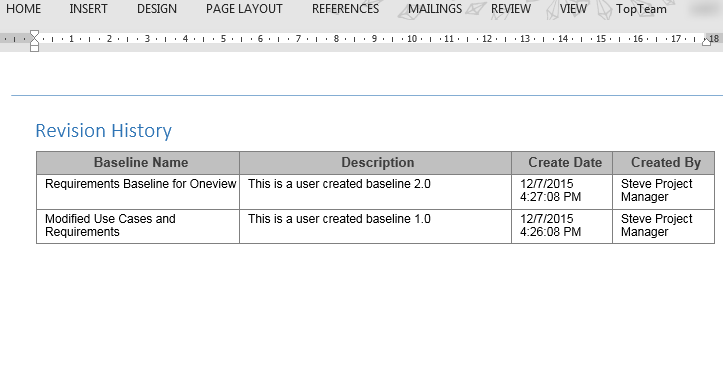
Step 5. Insert a bookmark at the place where you want to display your Rich Text field
To add a bookmark, refer to the following steps:
1. Select the text or item to which you want to assign a bookmark, or click where you want to insert a bookmark.
2. Go to the Insert tab and in the Links group, click Bookmark.
3. Under Bookmark name, type a new bookmark name. Bookmark names must begin with a letter and can contain numbers.You can’t include spaces in a bookmark name. However, you can use the underscore character to separate words — for example, “First_heading.”
4. Click Add.
Step 6. Add a Custom Property to the Word document (template)
For information on creating a Custom Property, refer to the article How to create new Custom Properties for OneView Custom Fields for the Reviews and Approvals Default Template.
Ensure that the Custom Property name must be the same as the Rich Text field name
Save the document after adding Custom Property and upload it into the TopTeam application. The template for Reviews and Approvals has been edited.
NOTE:
To display the same Rich Text field data at multiple places in the template, add bookmarks at the places where you wish to show that field’s data. Make a comma separated list of all the bookmarks and add them in its respective Custom Property Value field.
E.g. Consider you have added these many bookmarks to your template:
ttm_bk_cmp_logo
ttm_bk_cmp_logo_1
ttm_bk_cmp_logo_2
Now, the Rich Text field’s Custom Property Value field will contain all these bookmarks: ttm_bk_cmp_logo,ttm_bk_cmp_loo_1,ttm_bk_cmp_logo_2
When a reviewer opens the review document, the Rich Text field’s value will display at the place where the bookmark was inserted
Revised: December 4th, 2016